back
Ender 3 V3 SE
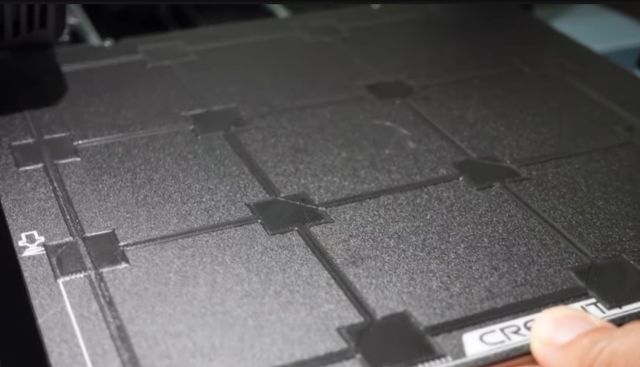
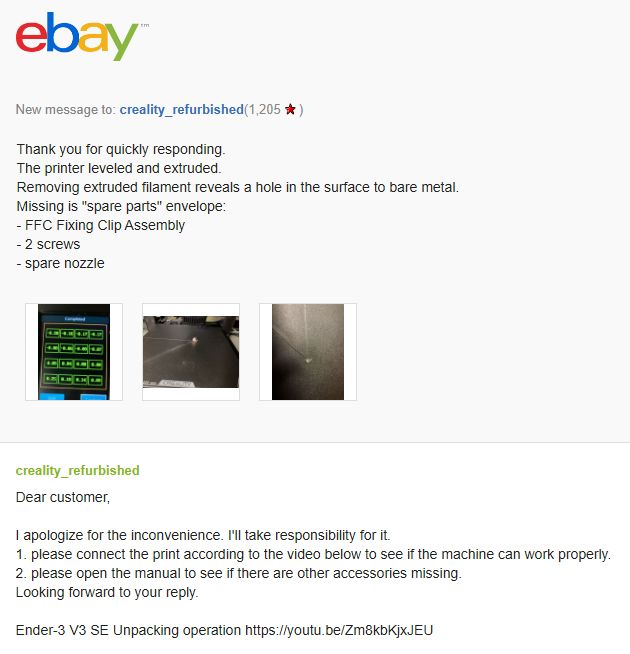
Leveling (tramming) is the essential first step in filament printing.
Ender-3 V3 SE features a CR Touch sensor for auto leveling
and a strain sensor for auto Z offset.
No need to turn screws or pull a paper.

Because build surface may be both tilted and warped,
a bed leveling mesh is generated.
Bed should be preheated to operating temperature before mesh generation.
"Sprite" direct drive extruder works well with PLA, PETG, and flexible TPU. SE (and KE) extruder differs from other Creality Sprite direct drives, although seemingly using Sprite Pro ribbon cable connection. Dual Z-axis drive; Y-axis uses paired 8mm steel shafts. 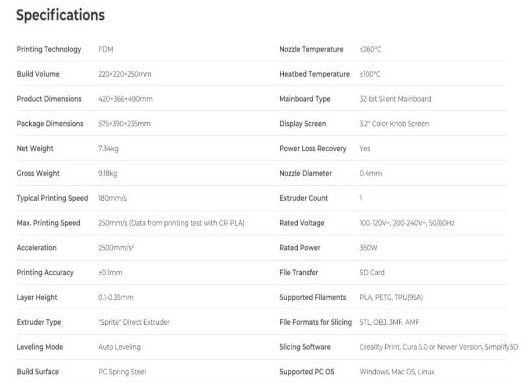 Other Ender-3 V3 SE links
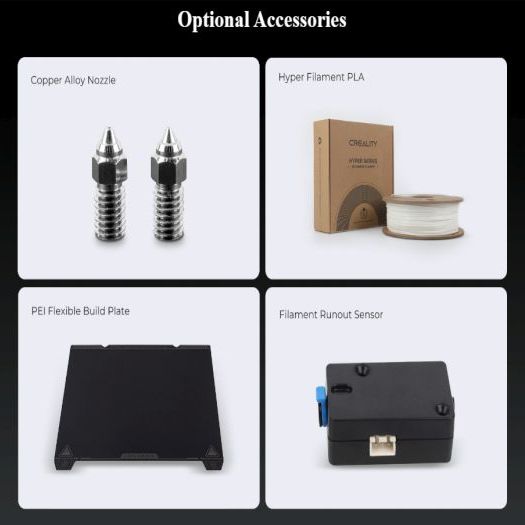
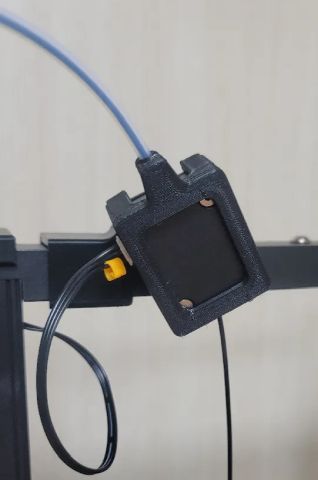
Control Panel, User ManualFilament runout sensorNebula CameraSonic Pad - Klipper remote access downloads, documents
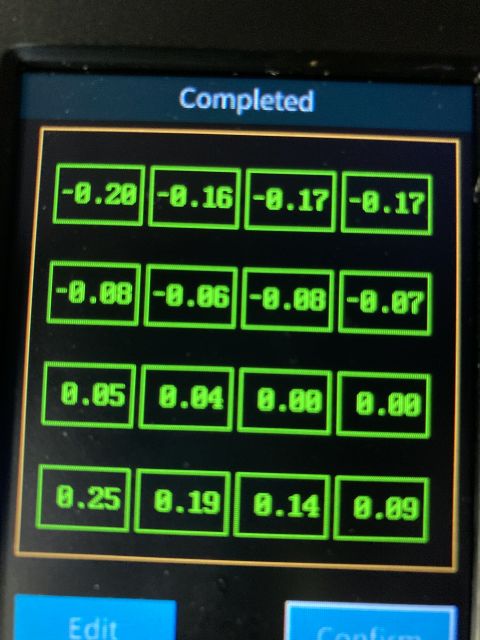
Filament Loading and UnloadingTap "Extrude", and filament will flow out of the nozzle smoothly.Tap "Retract", and the filament will exit quickly.
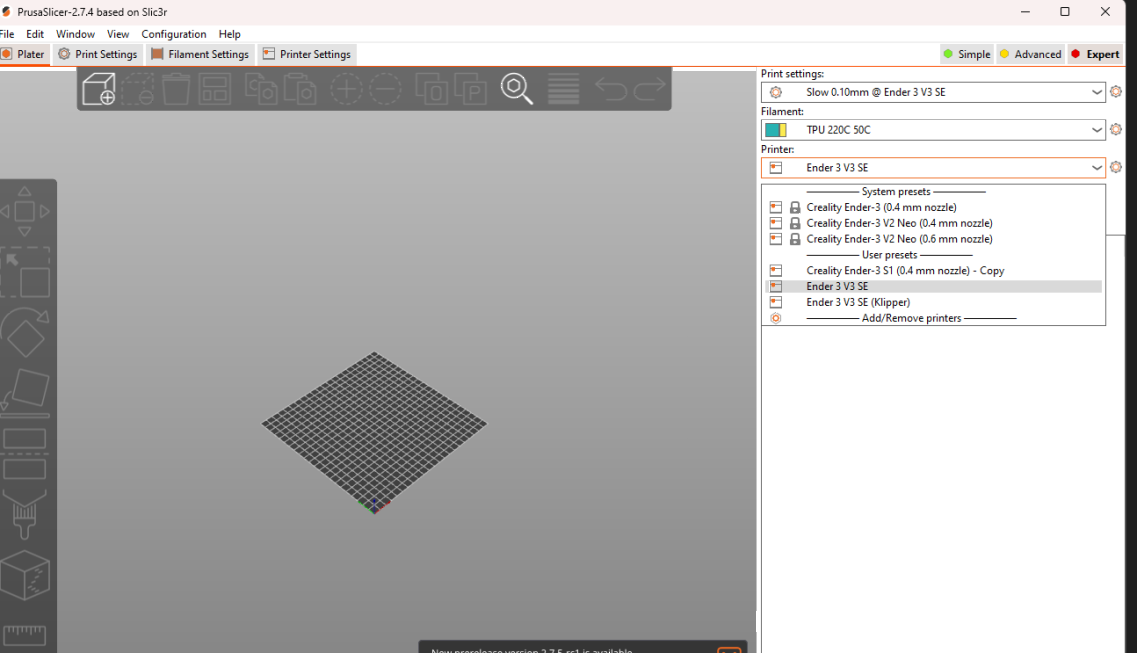
Tuning and calibration Onshape CADOrcaSlicer Ender 3 V3 SE profileCreality Ender-3 V3 - Orca Slicer Settings & Profile"You do not connect Klipper to OrcaSlicer, you connect OrcaSlicer to Klipper."
Changes in Orca for Sonic Pad:
 change the output code to Klipper, and link the printer's Sonic Pad IP address and port number.
Accelerations should not need to be touched.
You should be set to NOT output that data to the gcode
 so it just uses Sonic Pad defaults for the printer.
Orca with Sonic Pad on V3 SE - Creality forum
MAD gantry bracesMAD is for Man-aided design, not to be confused with CAD.Modifying 3D printers with 3D-printed parts is seemingly traditional; slinky rods are likely heavier and less rigid than 20mm aluminum angle.  20mm stainless button head screws replace 16mm steel 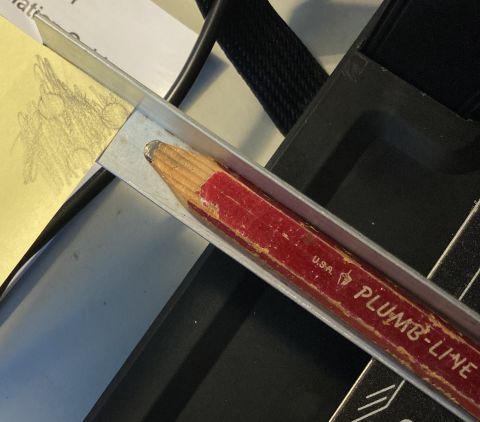 rubbing made on post-it note stuck to gantry over screw holes 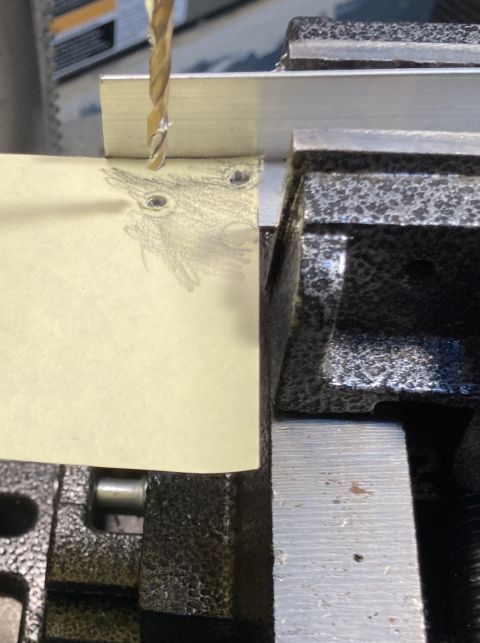 used as a pattern to drill 3.5mm holes for 3mm screws because tolerances 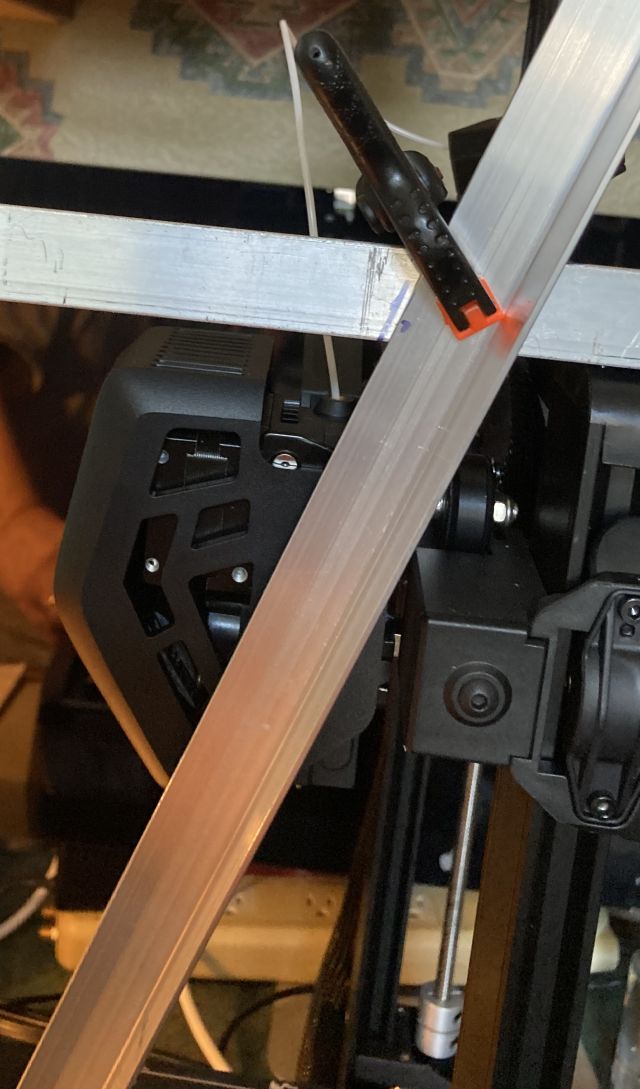 clamp not-yet-cut diagonal to not-yet-cut bracket and mark for cuts 20mm is widest angle that clears printhead right excursion and operator panel 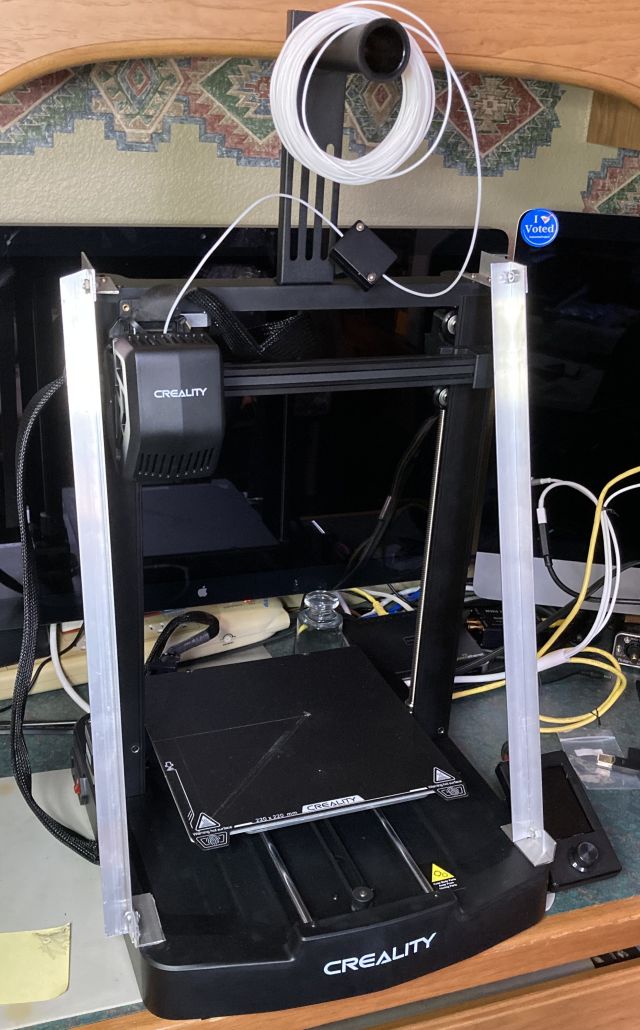 left brace mounts off Ender's base to clear printhead left excursions Another modificaton will eventually motivate opening the base, when holes may be drilled to secure bottom brace brackets with screws. Currently, double-sided adhesive tape AKA carpet tape suffices, making this a completely reversable upgrade. Filament routingA cupboard above the printer simplifies off-loading filament supply: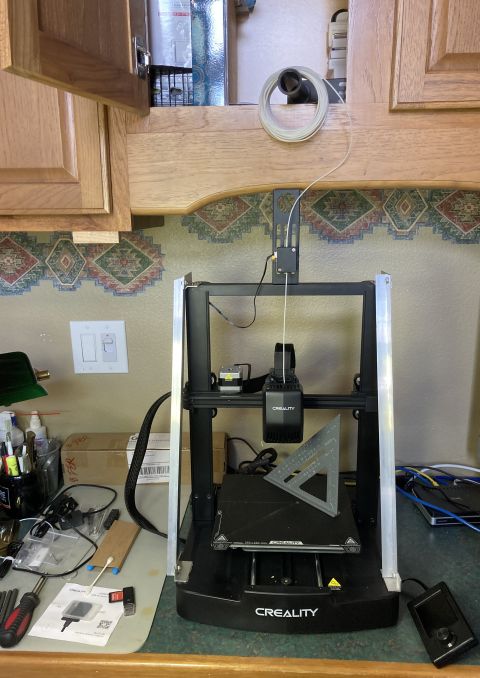 Nebula Camera runout detection video review AI detection videoPrinter must be on for Sonic pad to allow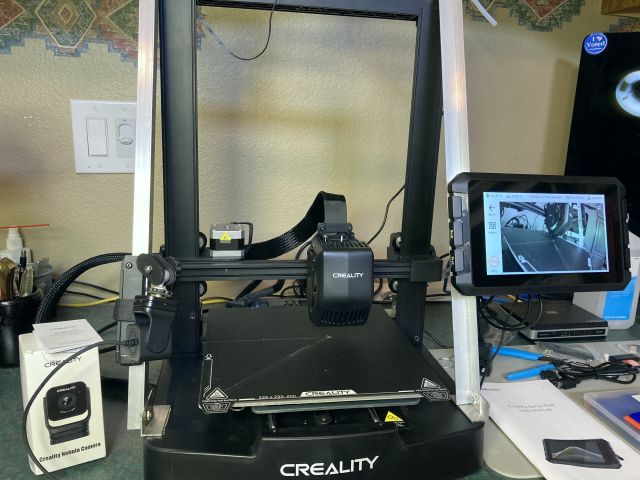 Spaghetti detection reportedly does not involve G-Code... Service tutorial videosReceived (damaged) 10 June, 2024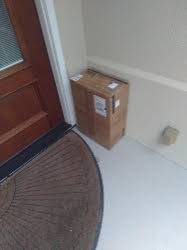
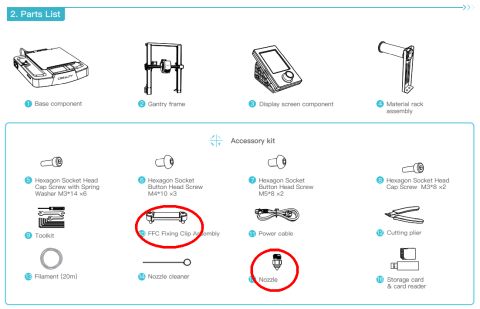
User Manual
|
|
maintained by blekenbleu |