GE GTWM4250D1WS Washing machine bearing replacements
failed attempt to cure spin cycle scraping noise
Various HydroWave model employ different parts and procedures.
This video, for a different model, misses a few points:
agitator removal
- Yanking, as in several videos, seems unlikely for older
(and presumably stiffer) plastic of agitators not previously removed.
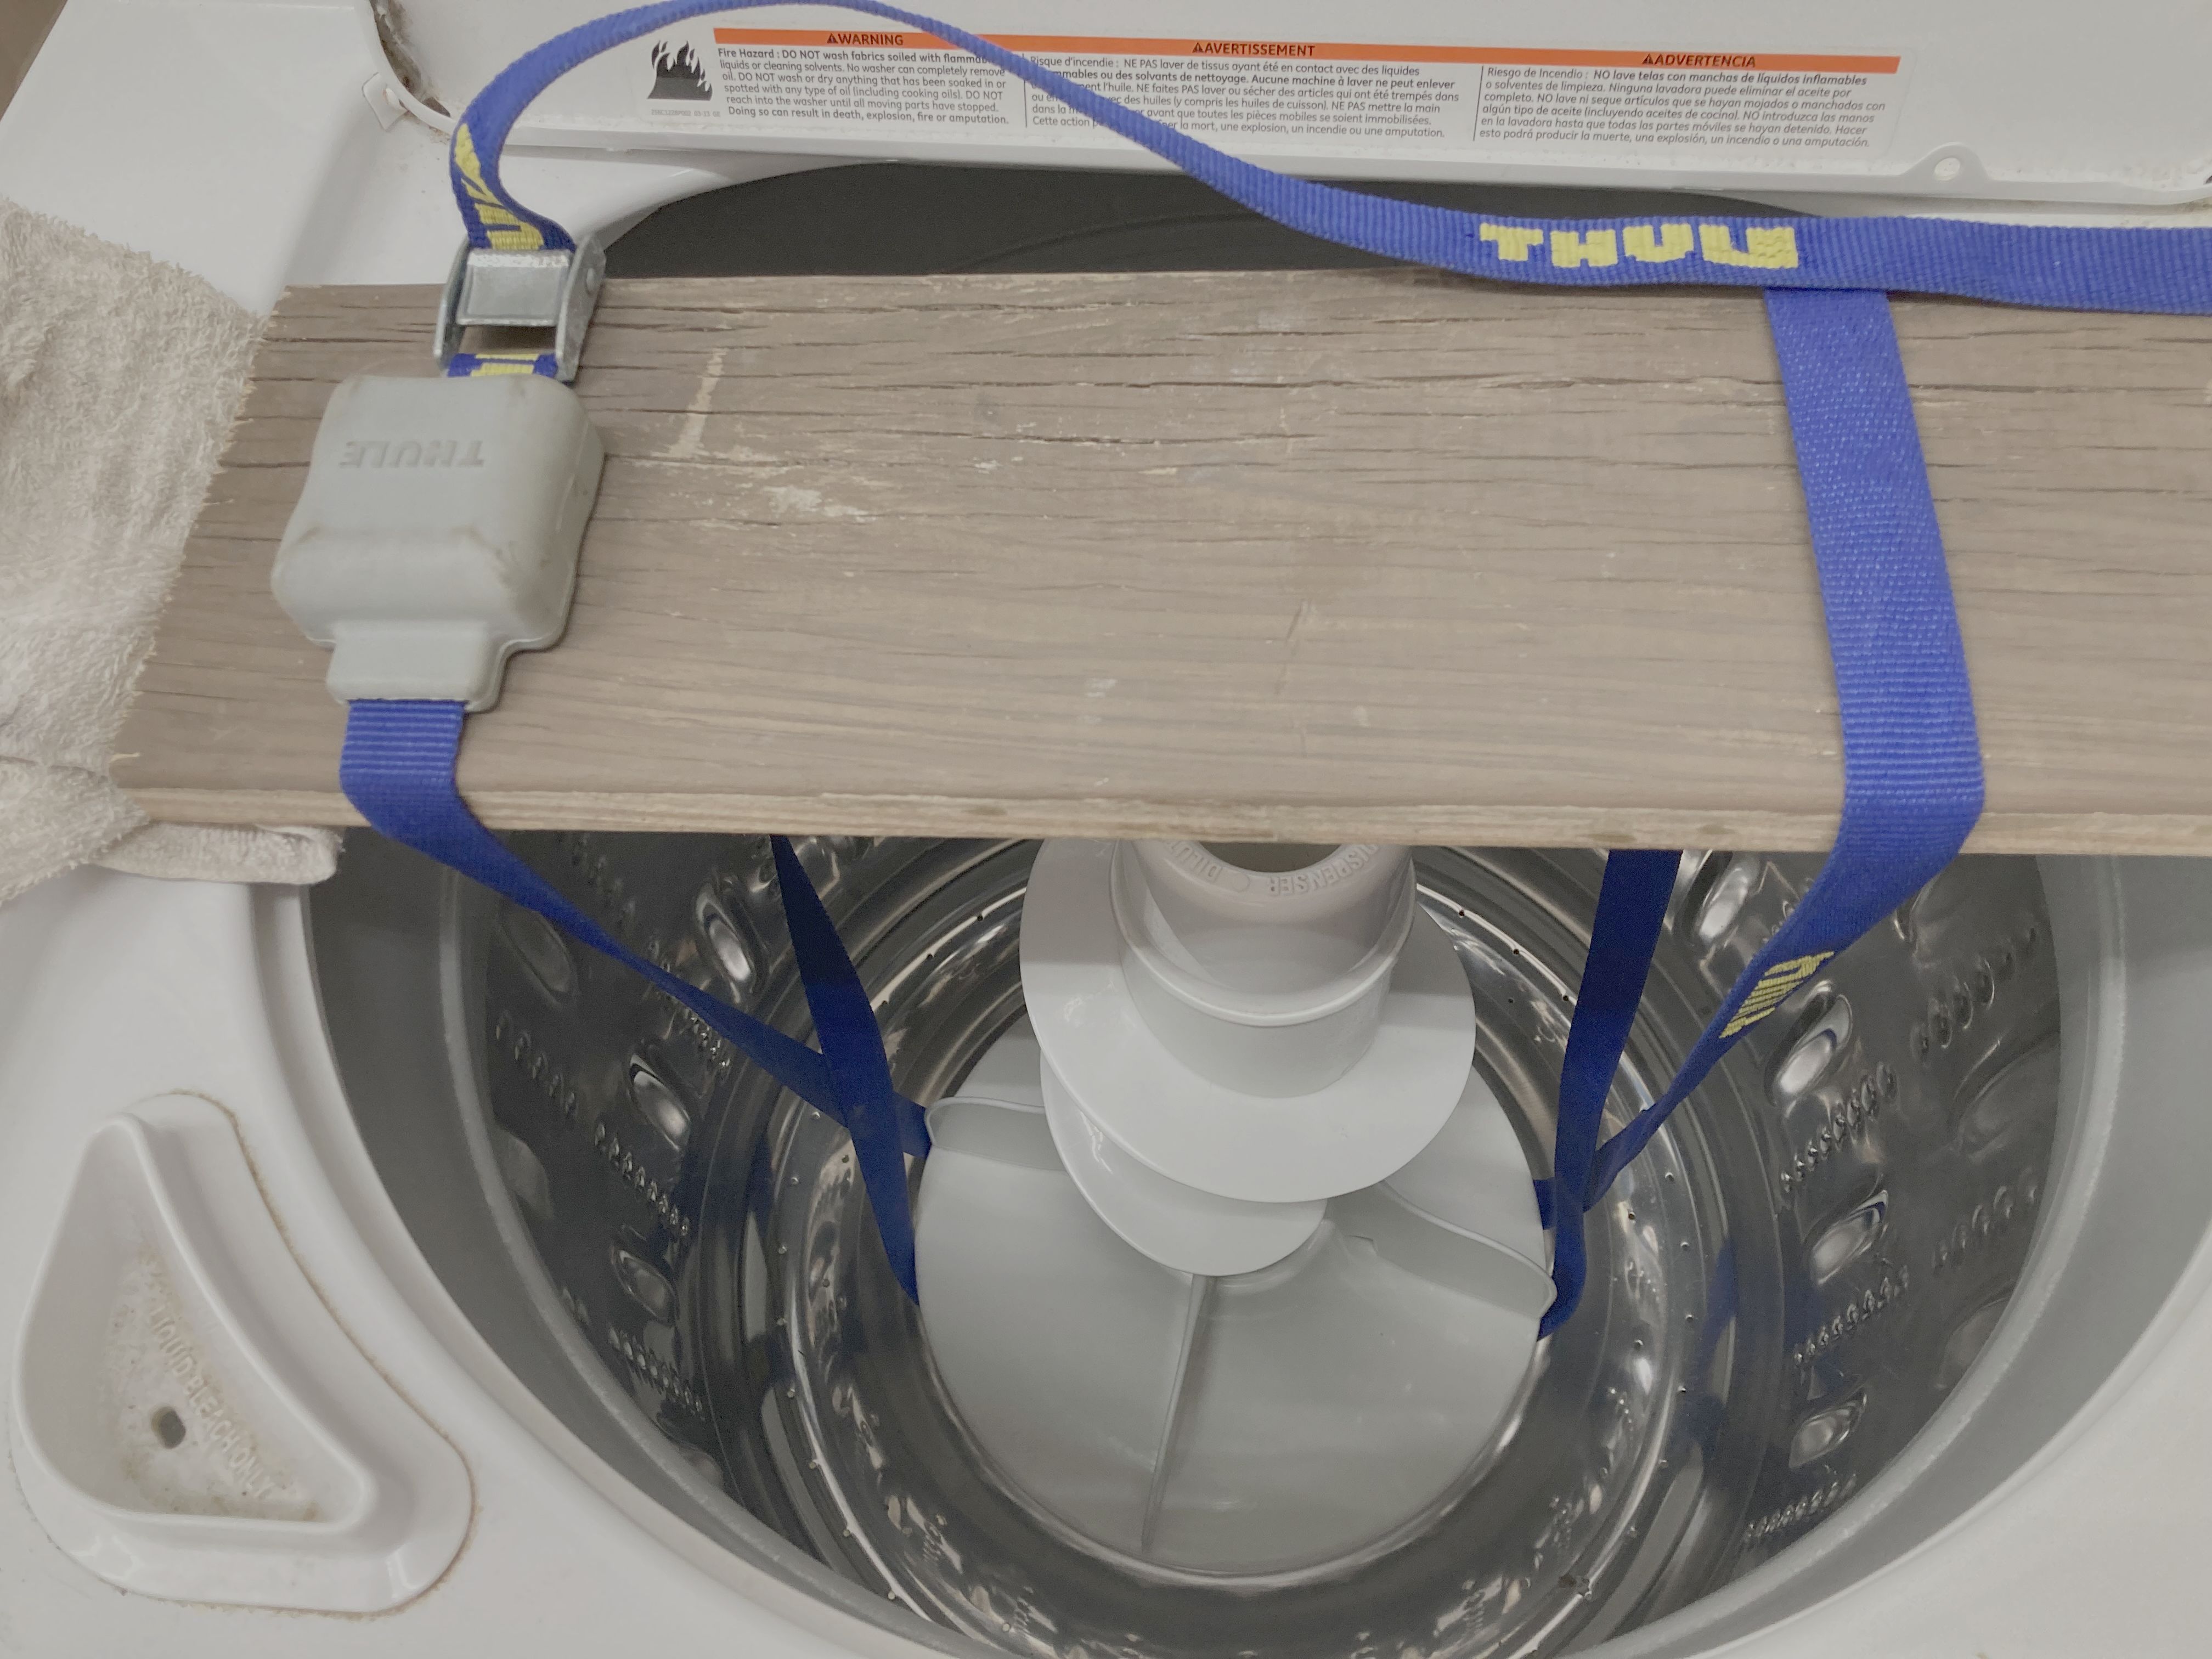
Force required using strap and lever tipped the washer.
Crossing beneath lever stopped strap slipping from under agitator.
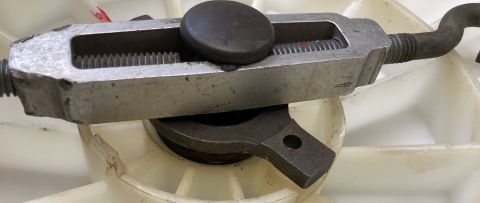
sleeve bearing puller
- Prying on it with screwdriver blades was useless.
Improvised puller using:
- long bolt + washer + nut
- 1-1/8" socket
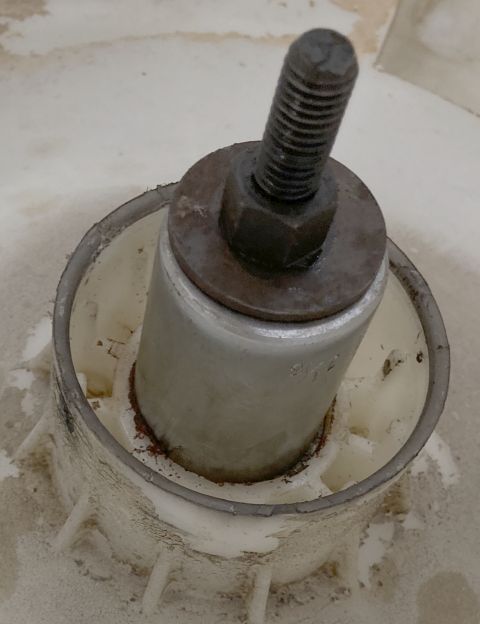
- turnbuckle
seal (red arrow) replacement
- old seal was the most visibly deteriorated part in this machine.
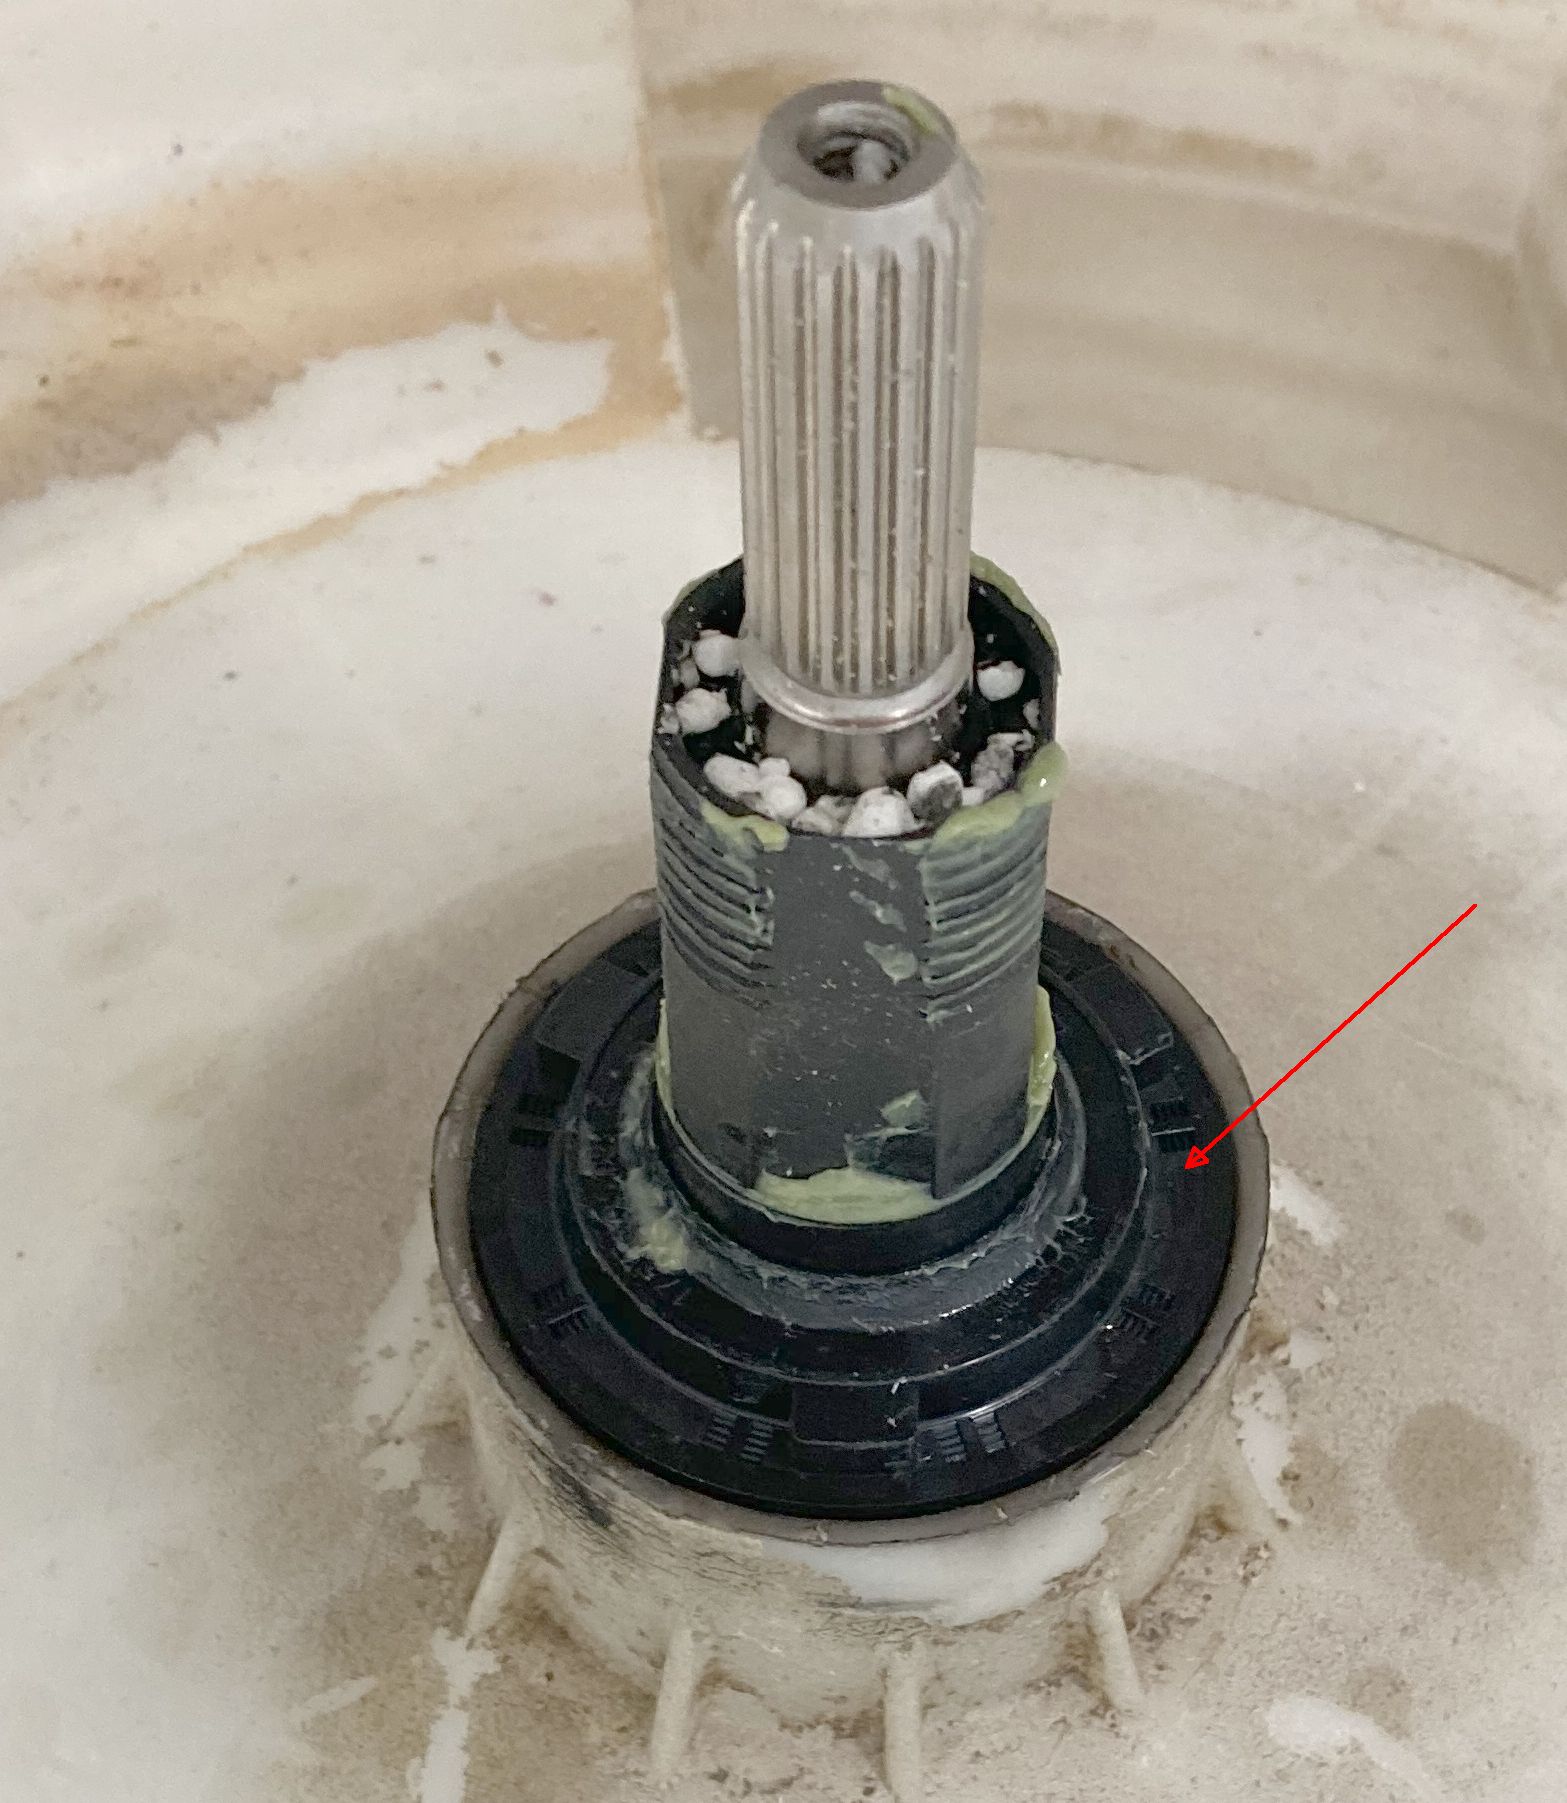
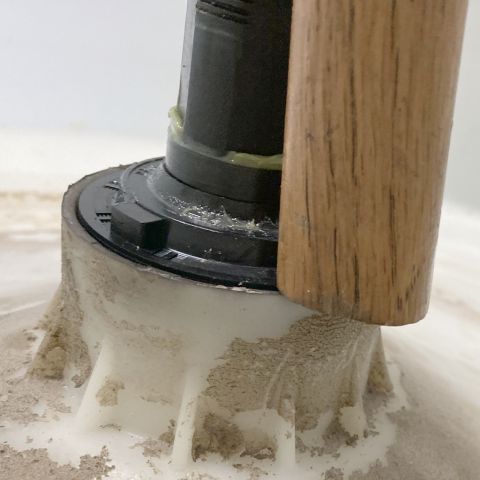
tap (with hammer handle) to fully seat
sleeve bearing and washer lube
- lithium grease seems obvious for combating wear
unthreaded holes in new load shifter casting
- 3/8 bolts are evidently self-tapping;
new load shifter specified 90 inch pound torque for these..
Model differences:
air tube connects to control panel bracket
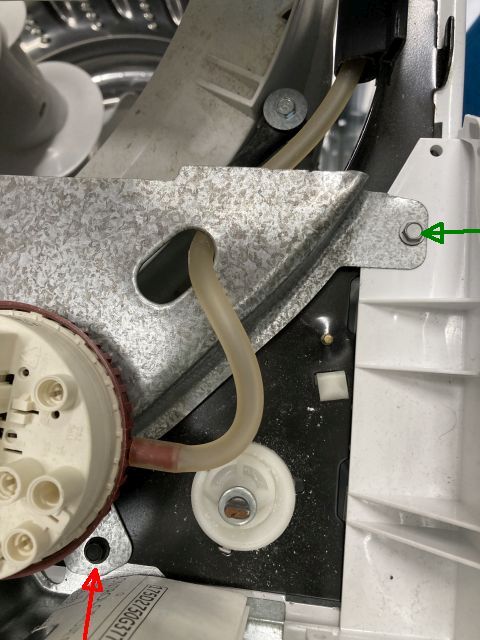
- YouTube air tube connects to control panel
14 screws: minimize reassembly confusion
- 2 black sheet metal screws for back panel
(red arrow in air tube image, above)
- 5 generic sheet metal screws
- 4 damping strap screws
- 2 larger screws at top cover front
- ground screw near the motor
- Partially reinstalling non-generic screws during disassembly helps.
back panel interlocks with end caps
foam blocks under top cover rear corners
- over galvanized sheet metal screws in end caps
(green arrow in air tube image, above)
|